


Wow. What a project.
I knew it would be a lot of work- and was it ever!
I also knew I would love the end result- but I don't think I realized how MUCH I would love it!
A couple gallons of white paint has literally transformed the entire look and feel of our upstairs!
Here's a quick break down of
HOW I DID IT:
I started with the trim and door frames, then I painted the doors.
For the Trim:
I decided to paint the trim in place on the walls. In my opinion- after doing it both on and off the walls- I MUCH prefer painting the trim ON the walls.
I tape off basically anywhere I don't want white paint: so above the trim to protect the painted wall and below the trim to protect the floor. I never totally trust painters tape- so I always plan on going back afterwords and doing touch ups anywhere the white paint has seeped under the tape.
Since I was painting over lighter colored trim I used 2 thin coats of primer- making sure it was fully dry between coats.
Then I painted 3 coats of white paint, again making sure the paint was dry between coats (following the dry times according to the can).
Once my trim was beautiful and dry, it was finally my favorite part of any painting process:
RIPPING OFF THE BLUE TAPE!!!
I always use a box cutter to cut the tape first- so it peels off nicely without peeling away any new paint.
I decided to paint the trim in place on the walls. In my opinion- after doing it both on and off the walls- I MUCH prefer painting the trim ON the walls.
I tape off basically anywhere I don't want white paint: so above the trim to protect the painted wall and below the trim to protect the floor. I never totally trust painters tape- so I always plan on going back afterwords and doing touch ups anywhere the white paint has seeped under the tape.
Since I was painting over lighter colored trim I used 2 thin coats of primer- making sure it was fully dry between coats.
Then I painted 3 coats of white paint, again making sure the paint was dry between coats (following the dry times according to the can).
 |
| This is the white paint that I use. Even though it says "paint & primer in one"...I always choose to use an actual primer before painting still. Call me old school I guess. |
RIPPING OFF THE BLUE TAPE!!!
I always use a box cutter to cut the tape first- so it peels off nicely without peeling away any new paint.
Now Onto Doors:
The doors...the hard part...but also probably the most rewarding part.
So here's how I did it...
We removed all of the doors and the hardware.
I opted to do all of the work out at my parent's house in my Dad's shed. Set up is always the most tedious part, so I was super glad to have my Dad's help! Here was our handy-dandy set up:

He had small wooden blocks holding the doors up off of the ground. He also had the doors braced to the wall (nailed at the top with small nails)- so I could work on both sides of the doors- which DRAMATICALLY cut down the time this project took. Otherwise I would have spent far too long waiting for each side to dry before working on the other. Did I already mention how glad I was to have my Dad helping me...?
Once we had all of the doors in place- it was time to sand. I used my electric hand sander and medium grit sand paper to rough up the doors. It didn't take long- a couple passes on each side of the door and that was enough (thank God because you don't ever realize how much work sanding is until you've been working at it for an hour...hello newly toned arms).
After what seemed like forever- I was finally done with the sanding. I used the brush accessory on the vacuum and vacuumed the doors REALLY good. I also went over them with a clean cloth to make sure there was no left over sanding dust!
Then it was time to paint!!
I was finally going to get to use my Wagner Flexio 570 spray painter!! EEEEEEKKKKK!
I was so excited!
Again, I was glad to have my Dad helping me because there are a lot of controls and settings...
We practiced with the primer on an old scrap piece of wood before we moved to the doors.
My dad did all of the priming, and I did all of the white paint.
 |
| 1 coat of primer was all that it needed! |
We primed sometime late afternoon and ended up letting them dry over night. The following morning right away I got to work on the white paint.
According to the can of white paint, it needs a minimum of 4 hours to dry between coats. So once it had been 4 hours, I got to work on the second coat.
With the Wagner sprayer it saved SO much time! It covered the doors flawlessly (once we got the hang of it, which didn't take long).
After each coat we made sure to take EVERYTHING apart on the sprayer and really wash it good! So in my opinion- even with the added clean up, using the sprayer was MORE THAN WORTH IT!!!
NOW.... with the paint sprayer- there was a lot of overspray. You can definitely change that with the settings you use- but we were most happy with the finish that just happened to result in the most amount of overspray. THAT, is why I ended up donning one of my Dad's old work shirts to cover my arms and chest, his old work hat to keep my hair from turning white, and of course a make shift mask over my face. My legs were definitely speckled white, and my black flip flops now have a speckled white finish to them. Good thing they were about $2 from Old Navy.
So long story short- if you're going to use a paint sprayer- there will be overspray. Dress accordingly and cover any surrounding areas you don't want painted!!!
 |
| These pictures are after the 2 coats of white paint |

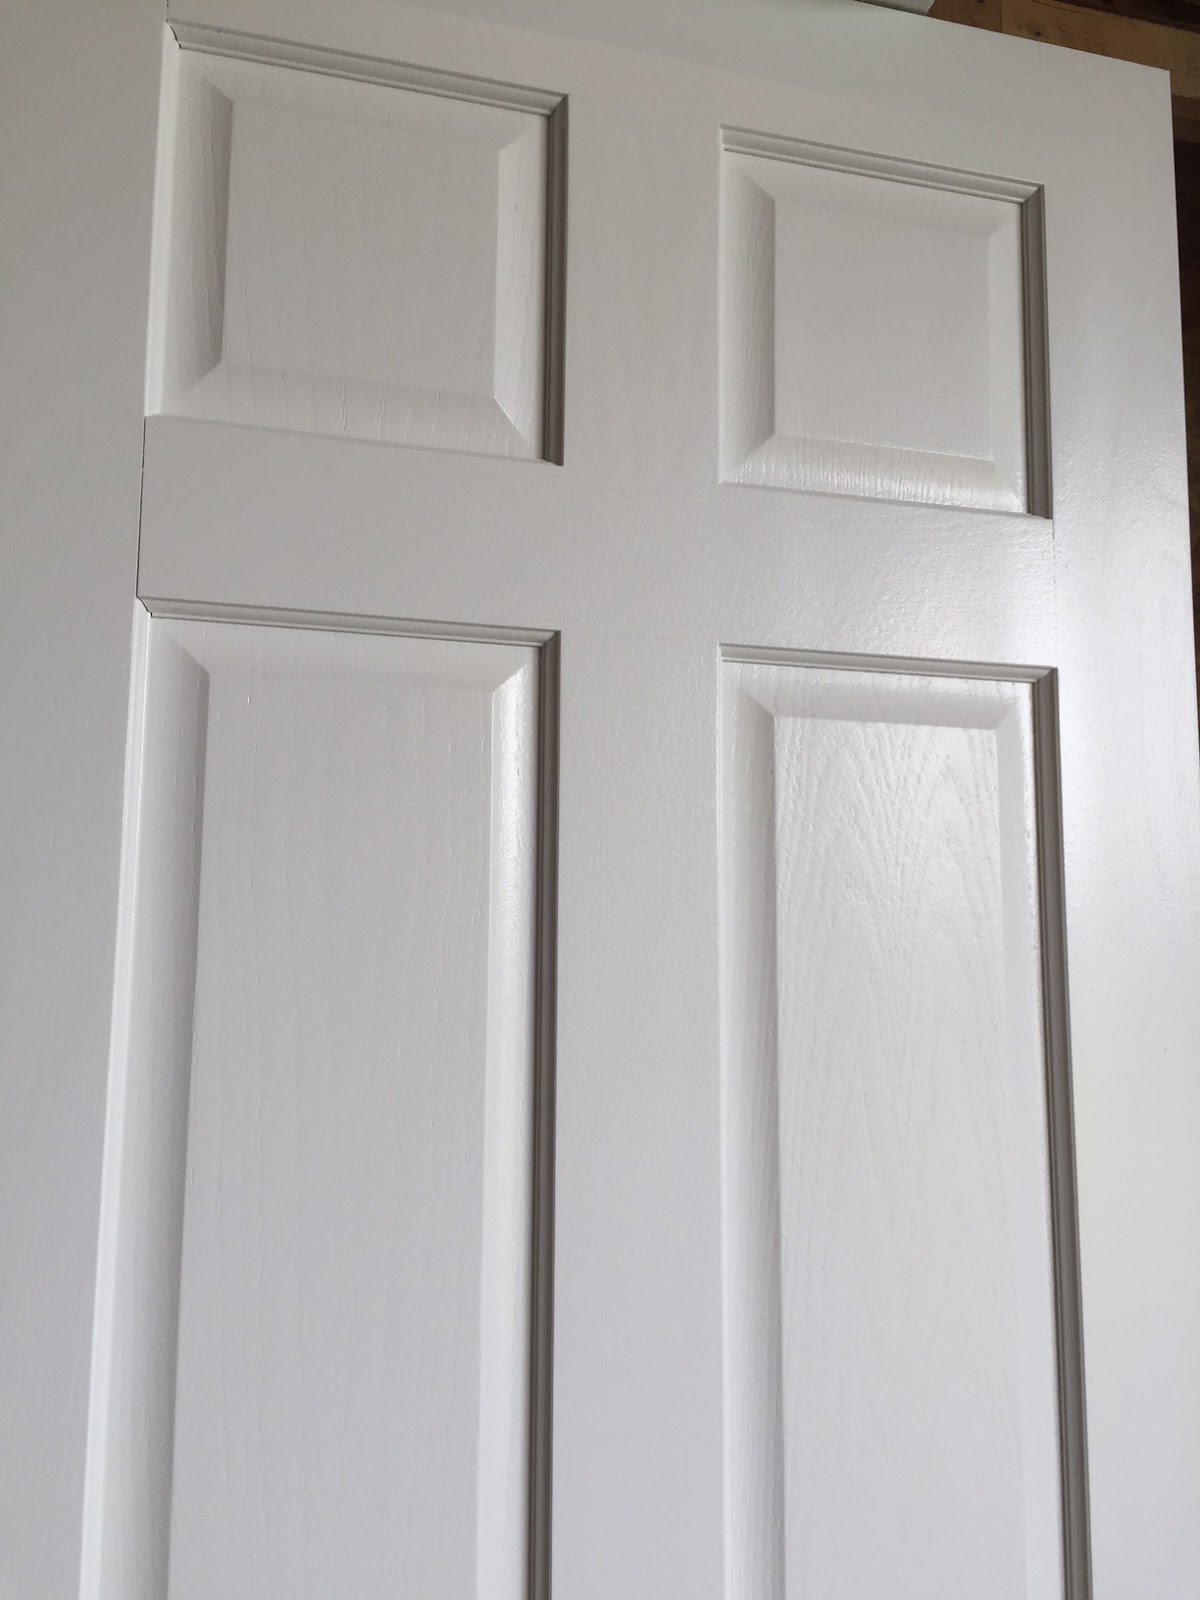
The sprayer gave us such a flawless, factory finish. We absolutely LOVE how they turned out!
I also spray painted all of the ugly, old, shiny brass hardware... as well as all of the screws for the hinges and door knobs. THE ONLY hardware I am buying new are the door strike plates- I figure with the constant use of the doors, the spray paint would get worn on those FAST. I ordered them from Home Depot- with 2 each in a pack, for about $2.60/pack. Well worth it in my book.


I used Rustoleums Oil Rubbed Bronze on the hardware. I did 3 coats of the oil rubbed bronze- making sure to follow the dry times between coats. I then finished them off with a clear coat protective enamel in a glossy finish to make sure they withstand the tests of time (hopefully, anyway). It helped to be able to stand the handles upright in an old piece of styrofoam... that way I could get the handles at all angles.
Once the doors were all painted we left them for a couple days to dry and cure. I really want this paint to hold up, so I figured the longer they can cure before being used- the better!
This project took a lot of time, but we are SO happy with the end result!
It gave our home an entirely different feel, totally updated it...
and we love it!!


Be First to Post Comment !
Post a Comment