
I have been DYING to do this project!
I've seen so many cool, BIG chalkboards.
Some people have them painted right onto their walls, which I considered doing, but our walls are pretty textured, and I didn't want to sand them down, because, well then that's a non-textured, chalkboard chunk of wall forever... unless you repaint, retexture... and you get the picture.
I wanted a giant chalkboard I could move if I wanted, and I wanted it to be magnetic.
So... since I didn't find any tutorials with what I wanted...
I do like I normally do, and come up with my own little plan for exactly what I want.
This time, it was a 3'x5' magnetic chalkboard, made out of galvanized sheet metal.
I had plenty of sheet metal at my disposal, since my dad owns a heating and cooling business.
So here's exactly how I pulled this
I started by picking the size: 3'x5'.
So I got my sheet metal, cut it to size, and folded all the edges in/under 1/2", to provide stability. Otherwise this thin sheet metal will wobble and kink, and once you get a kink or wrinkle in it, there's no getting that out. Folding the edges doesn't totally fix this possible problem, so you still need to be careful when handling the sheet metal, but it does help a lot with strengthening the sheet.
Then it was time to paint! (I used Rust-Oleum's chalkboard paint)
I did 3 coats of chalkboard paint, following the dry times between coats.
For the frame I used 1x4 pine boards.
I love using pine for accent pieces, I used pine for my DIY Floating Shelf too. I just love the character it has, with the knots and the grain of the wood. You also can't beat the price.
I wanted the top and bottom boards to overlap a little, as you can see.
You can really frame your chalkboard however you want.
I stained the pine with 1 coat of Minwax walnut stain, and finished it off with 3 coats of the Minwax poly.
Once my 3rd coat of chalkboard paint was dry on the sheet metal, we got to work on figuring out how to attach this thing to the pine boards!!
We opted on using some super strength glue, as well as 1/2" screws to make sure the sheet metal was secure, and not bendy once up on the wall. So we glued all the edges on the back (unpainted side) of the sheet metal, to the back (unstained side) of the pine boards, then secured it with the 1/2" screws.
(this way all of the screws are hidden, and are on the backside of your frame)
THIS... getting those screws through the metal, was quite a job. Good thing I had my husband Aaron :) This was his job. It was not easy...

In the photo above you can see how we attached the sheet metal/chalkboard onto the backside of the frame.
|

In this photo above you can see our 1/2" screw into the sheet metal, and the frame.
|
If you don't have studs where you're hanging your chalkboard, you will want to use anchors.
The screws we used to hang the chalkboard on the wall were silver, and stood out against the dark stained trim frame. So I used some of my left over Oil Rubbed Bronze Rust-Oleum spray paint, and with a q-tip, just painted the screw heads so they blend in with the dark wood!
One the chalkboard was all snug to the wall, we were mostly done!!
I let the chalkboard cure for 7 days actually... which normally would have been torture for me to wait so long, but working on the baby's room throughout the week kept me distracted! Check out a sneak peak of his nursery here by the way!
After the 7 long days of curing, I "primed" the chalkboard.
This just consists of covering your brand new chalkboard in chalk, then rubbing it in with a dry cloth, and then just cleaning it off with a damp rag.
Since chalkboards are porous, if you skip this step, your first few drawings will more than likely end up being pretty much permanent... and you don't want that!
I went through a few pieces of chalk priming my board, since it's a BIG friggin' chalkboard!
BUT THIS IS A "DO NOT SKIP" STEP!!

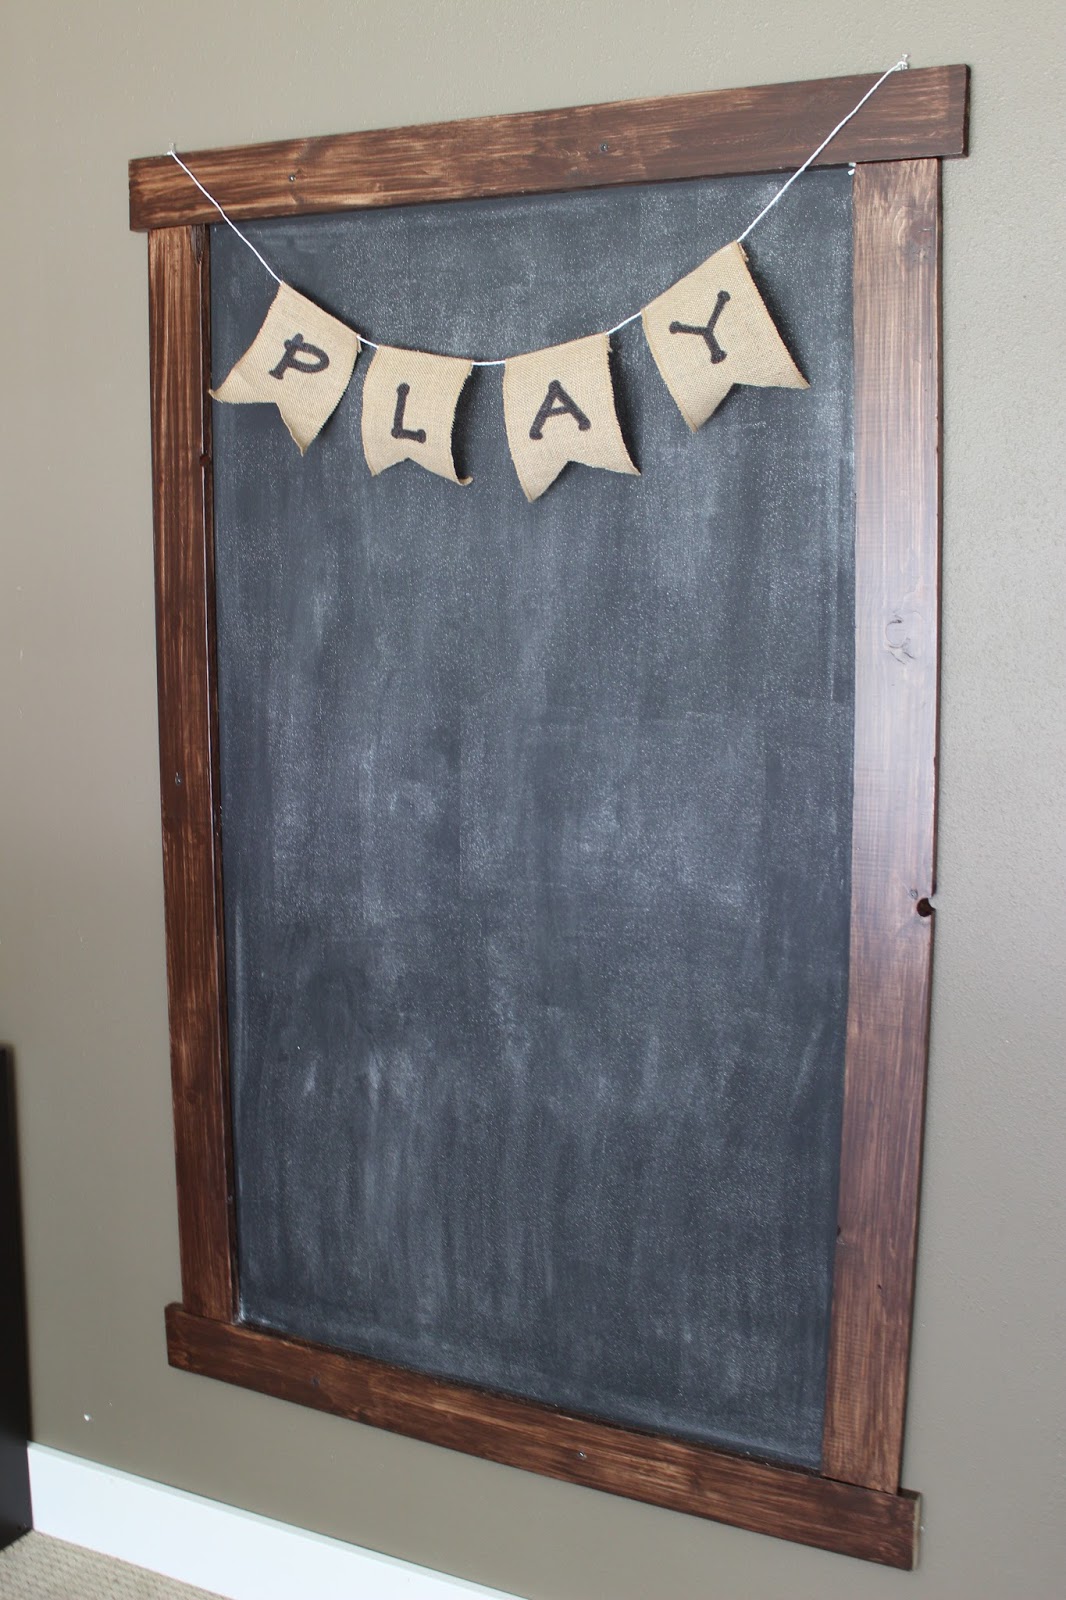
Once I had it all covered, I rubbed the chalk in good with a dry, clean cloth, then just wiped it all off with some damp paper towels, and VOILA!!!
Ready to ROCK & ROLL with this baby!
I LOVE it!
I can't wait to get some fun magnets for the kiddos to play with on this chalkboard too!


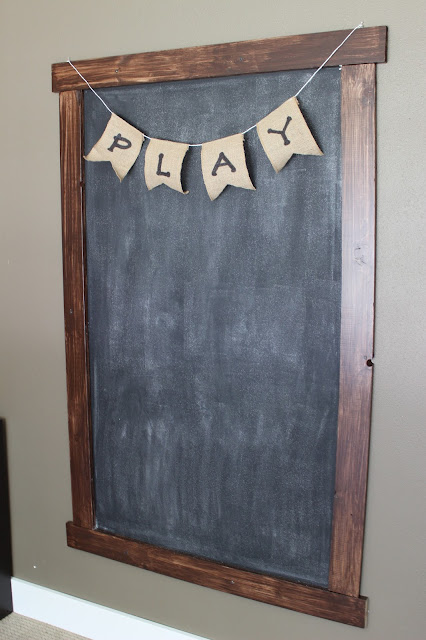
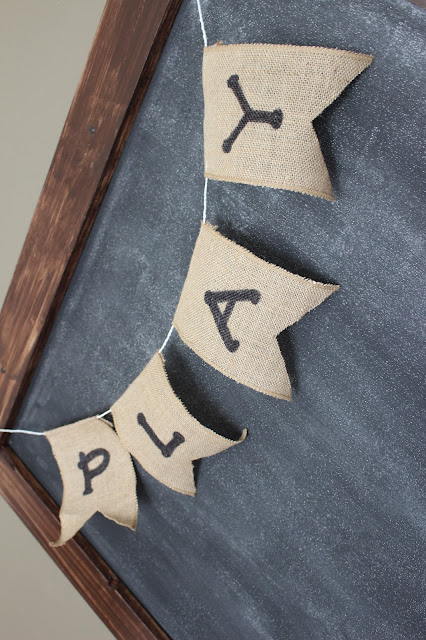
I also decided to make a cute burlap "play" banner.
I have a similar burlap banner on my floating shelf that I love, as well as the burlap banner I made last year for Gavin's birthday... tutorial for these banners is here by the way!
These banners are SO easy to make, it literally took me a total of 15 minutes!
I think it gave the chalkboard its very last, finishing touch!
:)
This chalkboard was a super fun project to do, and it really wasn't all that hard either!
It's now one of my favorite things about our house!!


❤️❤️❤️❤️❤️❤️
ReplyDelete:9 niiice!
ReplyDelete